
 Deutsch
 Tiếng Việt
 日本語
日本語 한국어
한국어 ไทย
ไทย Português
 العربية
 Français
 Español
 Italiano
 Nederlands
 Svenska
 Norsk
Norsk Dansk
Dansk Polski
 Русский
 Türkçe
 Bahasa Indonesia
 Bahasa Melayu
How to Install a Car Amplifier: Step-by-Step Guide for Beginners
Installing a car amplifier can significantly enhance your vehicle's audio system, delivering clearer sound and more power to your speakers. Whether you're a beginner or looking to refine your skills, learning how to install a car amplifier properly is essential for optimal performance and safety. Below, we’ll walk you through each step, from gathering tools to final testing.
Why Install a Car Amplifier?
Installing a car amplifier is one of the most effective ways to enhance your vehicle's audio system. Unlike factory stereos, which often lack power and clarity, a dedicated amplifier provides the necessary wattage to drive your speakers or subwoofers efficiently. This results in cleaner sound, deeper bass, and an overall more immersive listening experience.
Many car owners hesitate to install car amplifier systems due to perceived complexity. However, with the right tools and guidance, the process is straightforward and rewarding. Whether you're upgrading a stock system or building a custom setup, this guide will walk you through every step.
Tools and Materials You’ll Need
Before diving into the installation, gather the following tools and materials to ensure a smooth process:
- Amplifier – Choose one that matches your power requirements and system setup.
- Wiring kit – Includes power cables, ground wires, RCA cables, and speaker wires.
- In-line fuse holder and fuse – Protects your amplifier and vehicle’s electrical system.
- Wire strippers and crimpers – For clean and secure wire connections.
- Screwdrivers and wrenches – For mounting and securing components.
- Multimeter – Helps verify voltage and ground connections.
- Zip ties and electrical tape – Keeps wires organized and protected.
- Panel removal tools – Safely removes interior panels without damage.
Investing in high-quality tools and materials will save time and prevent potential issues down the road. For premium wiring kits and accessories, brands like Alchimist offer reliable options designed for durability and performance.
Preparing Your Vehicle for Installation
Proper preparation is key to a successful install car amplifier project. Start by disconnecting the negative terminal of your car battery to prevent electrical shorts or damage. This step is crucial for safety and protects your vehicle’s sensitive electronics.
Next, plan the amplifier’s location. Common mounting spots include:
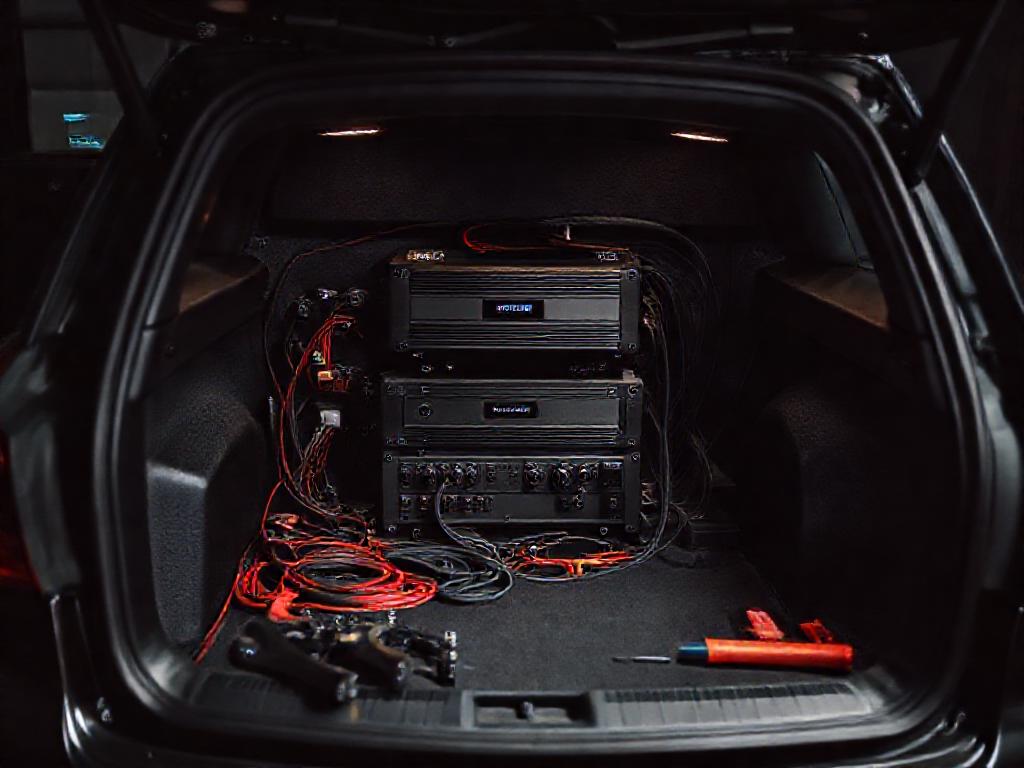
- Trunk or cargo area – Ideal for subwoofer amplifiers due to space and accessibility.
- Under a seat – Great for compact amplifiers in sedans or coupes.
- Rear parcel shelf – Suitable for hatchbacks or wagons with limited trunk space.
Ensure the chosen location is well-ventilated to prevent overheating. Avoid placing the amplifier directly on carpet or fabric, as this can trap heat and reduce performance. Use a mounting board or amplifier rack for better airflow and stability.
Running Power and Ground Wires
Routing the Power Cable
The power cable connects your amplifier to the car’s battery, delivering the necessary voltage for operation. Start by measuring the distance from the battery to the amplifier’s location, then cut the power cable to the appropriate length, leaving extra slack for adjustments.
Route the cable through the vehicle’s firewall, typically near the existing wiring harness. Use a grommet or protective sleeve to prevent chafing against metal edges. Secure the cable with zip ties along the vehicle’s frame or existing wiring looms to keep it neat and hidden.
Installing the In-Line Fuse
The in-line fuse protects your amplifier and vehicle from electrical surges or shorts. Install it within 18 inches of the battery, following the manufacturer’s fuse rating recommendations. This ensures that any fault in the wiring will blow the fuse before causing damage.
Connecting the Ground Wire
A solid ground connection is critical for optimal amplifier performance. Choose a bare metal surface near the amplifier, free of paint or rust. Sand the area down to bare metal and secure the ground wire with a bolt or screw. Use a star washer to ensure a tight, corrosion-resistant connection.
Test the ground connection with a multimeter to confirm it’s secure. A poor ground can cause noise, distortion, or even damage to your amplifier over time.
Connecting RCA and Remote Turn-On Wires
Running RCA Cables
RCA cables transmit the audio signal from your head unit to the amplifier. Route them along the opposite side of the vehicle from the power cable to minimize interference. Avoid running them parallel to power wires, as this can introduce noise into your audio system.
If your head unit lacks RCA outputs, you’ll need a line output converter (LOC) to convert speaker-level signals to RCA. Connect the LOC to the rear speaker wires of your head unit, then run RCA cables from the LOC to the amplifier.
Connecting the Remote Turn-On Wire
The remote turn-on wire tells your amplifier when to power on and off with the head unit. Locate the blue/white wire on your head unit’s wiring harness and connect it to the amplifier’s remote input. If your head unit doesn’t have a remote output, you can tap into the accessory wire or use a relay for automatic power control.
Wiring Speakers and Final Connections
Connecting Speaker Wires
If your amplifier is powering speakers, connect the speaker wires from the amplifier to the corresponding speakers. Use high-quality, oxygen-free copper wire to minimize resistance and ensure clean signal transmission. Match the positive and negative terminals on both the amplifier and speakers to avoid phase issues.
For subwoofers, use thicker gauge wire to handle the increased power demands. Secure all connections with crimp connectors or solder for a reliable, long-lasting bond.
Double-Checking All Connections
Before powering up your system, review all connections to ensure they’re secure and correctly routed. Verify that:
- The power cable is fused and properly routed.
- The ground wire is connected to bare metal and free of corrosion.
- RCA cables are away from power wires to prevent interference.
- Speaker wires are correctly polarized and securely connected.
Once everything is verified, reconnect the car battery and turn on your head unit. Adjust the amplifier’s gain and crossover settings to match your system’s requirements, starting with low volume to avoid damaging your speakers.
Testing and Troubleshooting Your Installation
Initial Testing
After powering up your system, play a variety of music tracks to test the sound quality. Listen for any distortion, noise, or imbalance between speakers. If you notice issues, turn off the system and recheck your connections.
Common Issues and Fixes
Here are some common problems and their solutions:
- No sound – Check the remote turn-on wire and RCA connections. Ensure the amplifier is powered on and the head unit is sending a signal.
- Distortion or clipping – Lower the gain on the amplifier and adjust the head unit’s volume. Ensure the amplifier’s power rating matches your speakers.
- Engine noise (whining or buzzing) – Re-route RCA cables away from power wires or use noise filters. Check the ground connection for a solid bond.
- Amplifier overheating – Ensure proper ventilation and reduce gain settings. Check for short circuits in the wiring.
For premium options, Alchimist’s amplifier line provides advanced features like built-in crossovers, bass boost, and thermal protection, making them a great choice for both beginners and audiophiles.
Final Tips for a Professional Installation
To achieve a clean, professional-looking install car amplifier, follow these tips:
- Use grommets and protective sleeves – Protect wires from sharp edges and wear.
- Label all wires – Makes future upgrades or troubleshooting easier.
- Secure loose wires – Prevents rattling and potential damage.
- Test before finalizing – Ensure everything works before reassembling panels.
- Consider sound deadening – Reduces road noise and improves audio clarity.
With patience and attention to detail, your amplifier installation will deliver years of high-quality sound. Whether you’re powering a full speaker system or a dedicated subwoofer, the effort is well worth the reward.
For those seeking top-tier components, exploring brands like Alchimist can provide the precision engineering and reliability that German craftsmanship is known for. Their products are designed to integrate seamlessly into any car audio setup, ensuring optimal performance and longevity.
Need professional help? Contact our expert team for installation support. Explore our premium car amplifiers to find the perfect match for your system.